Trezor.io/Start: The Official Guide to Setting Up Your Trezor Wallet Safely
As cryptocurrencies continue to revolutionize the financial world, securing your digital assets has never been more important. With cyber threats and exchange hacks on the rise, storing your crypto in a secure hardware wallet is essential. That’s where Trezor.io/Start comes in — the official setup page for Trezor hardware wallets. If you're ready to take control of your digital security, this comprehensive guide will walk you through everything you need to know about Trezor.io/Start and the benefits of using a Trezor Wallet.
🔐 What Is Trezor.io/Start?
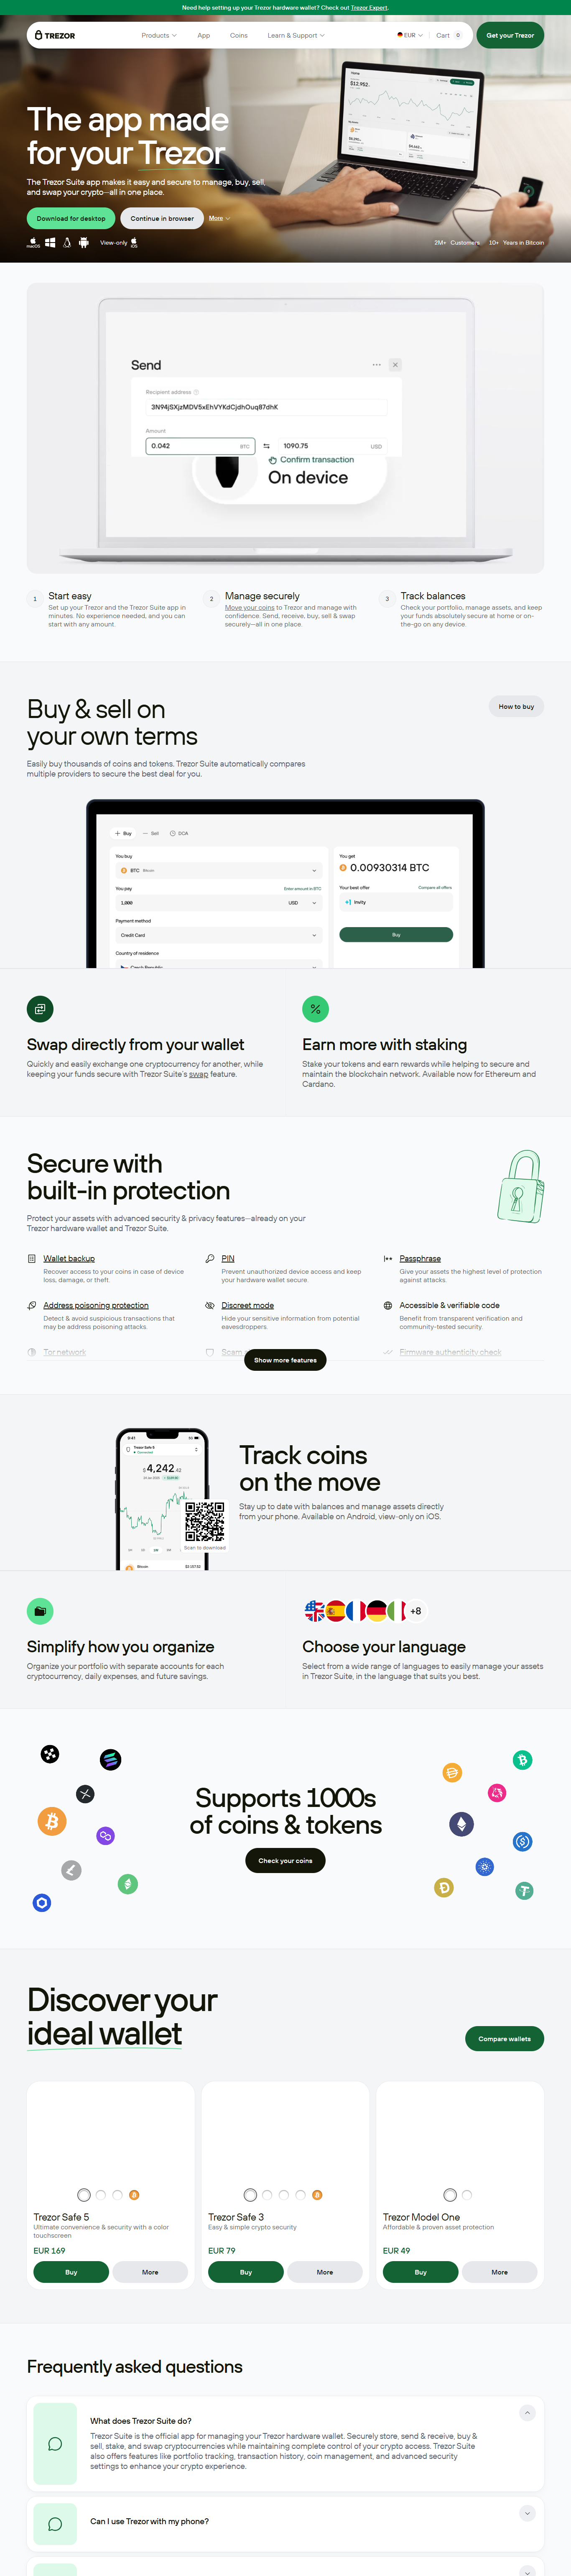
Trezor.io/Start is the official onboarding portal provided by SatoshiLabs for setting up your Trezor hardware wallet. Whether you own the Trezor Model One or the advanced Trezor Model T, this website is your starting point for activating, configuring, and securing your wallet.
Here’s what you can do on Trezor.io/Start:
- Download the official Trezor Suite software
- Initialize your Trezor Wallet
- Create and back up your recovery seed
- Update your device firmware
- Learn best practices for crypto security
By following the steps on Trezor.io/Start, you ensure your hardware wallet is secure and ready to protect your digital assets.
💼 Why Choose a Trezor Wallet for Crypto Security?
A Trezor Wallet is a hardware wallet that stores your private keys offline, offering maximum protection against hacking attempts, malware, and phishing attacks. Unlike software wallets that are connected to the internet, Trezor wallets use cold storage technology to keep your cryptocurrency safe.
Key Features of the Trezor Wallet:
- Offline Key Storage: Your private keys are never exposed to your computer or the internet.
- User-Friendly Interface: Trezor Suite provides a simple, intuitive dashboard for managing your crypto.
- Wide Compatibility: Supports Bitcoin, Ethereum, Litecoin, ERC-20 tokens, and over 1,000 other digital assets.
- Open-Source Security: Transparent and regularly audited by the community.
- Backup and Recovery: Secure your funds using a 12, 18, or 24-word recovery seed phrase.
- PIN and Passphrase Protection: Multiple layers of security for added protection.
Trezor has earned its reputation as one of the most reliable hardware wallets in the industry, trusted by millions of users worldwide.
🛠️ How to Set Up Your Wallet Using Trezor.io/Start
Getting started with your new Trezor hardware wallet is simple when you follow the instructions on Trezor.io/Start. Here’s a step-by-step breakdown:
✅ Step 1: Visit the Official Website
Navigate to https://trezor.io/start. Select your device model (Model One or Model T) to begin the setup process.
✅ Step 2: Download Trezor Suite
Trezor Suite is the official software that allows you to interact with your Trezor Wallet. Download and install it on your computer (compatible with Windows, macOS, and Linux).
✅ Step 3: Connect Your Trezor Device
Plug your hardware wallet into your computer via USB. Trezor Suite will detect the device and guide you through the setup.
✅ Step 4: Install Firmware
If this is your first time using the device, you’ll be prompted to install the latest firmware to ensure the most secure experience.
✅ Step 5: Create a New Wallet
Choose the option to create a new wallet. Your device will generate a unique recovery seed — a series of 12 to 24 words that you must write down and store offline. This is your only way to recover your funds if your device is lost or damaged.
✅ Step 6: Set a PIN and Passphrase
Set a strong PIN to protect access to your device. You can also enable a passphrase, which acts as an additional security layer.
✅ Step 7: Start Managing Your Assets
Once setup is complete, you can use Trezor Suite to send, receive, and manage your cryptocurrency portfolio with ease.
📊 Using the Trezor Wallet for Day-to-Day Crypto Management
Your Trezor Wallet, combined with Trezor Suite, gives you full control over your digital assets. Features include:
- Real-time Portfolio Tracking
- Direct Token Swaps via built-in exchanges
- Support for NFTs and dApps (Web3 integration)
- Custom transaction fees
- Advanced security options like hidden wallets
Trezor makes it easy to stay on top of your holdings while keeping them safe from online threats.
🧠 Pro Tips for Using Trezor.io/Start
- Always verify URLs: Only use the official website (trezor.io/start) to avoid phishing scams.
- Back up your recovery seed: Store it in a fireproof, waterproof location — never online.
- Use a cryptosteel: For enhanced durability of your backup.
- Keep your software up to date: Regular firmware and Suite updates add new features and security patches.
🔒 Conclusion
Trezor.io/Start is the safest and most reliable way to begin your crypto journey with a Trezor Wallet. Whether you’re storing Bitcoin, Ethereum, or a variety of altcoins, using a Trezor ensures that your private keys are secure and under your full control. Take the next step in crypto security by visiting https://trezor.io/start and setting up your Trezor Wallet today.
Made in Typedream